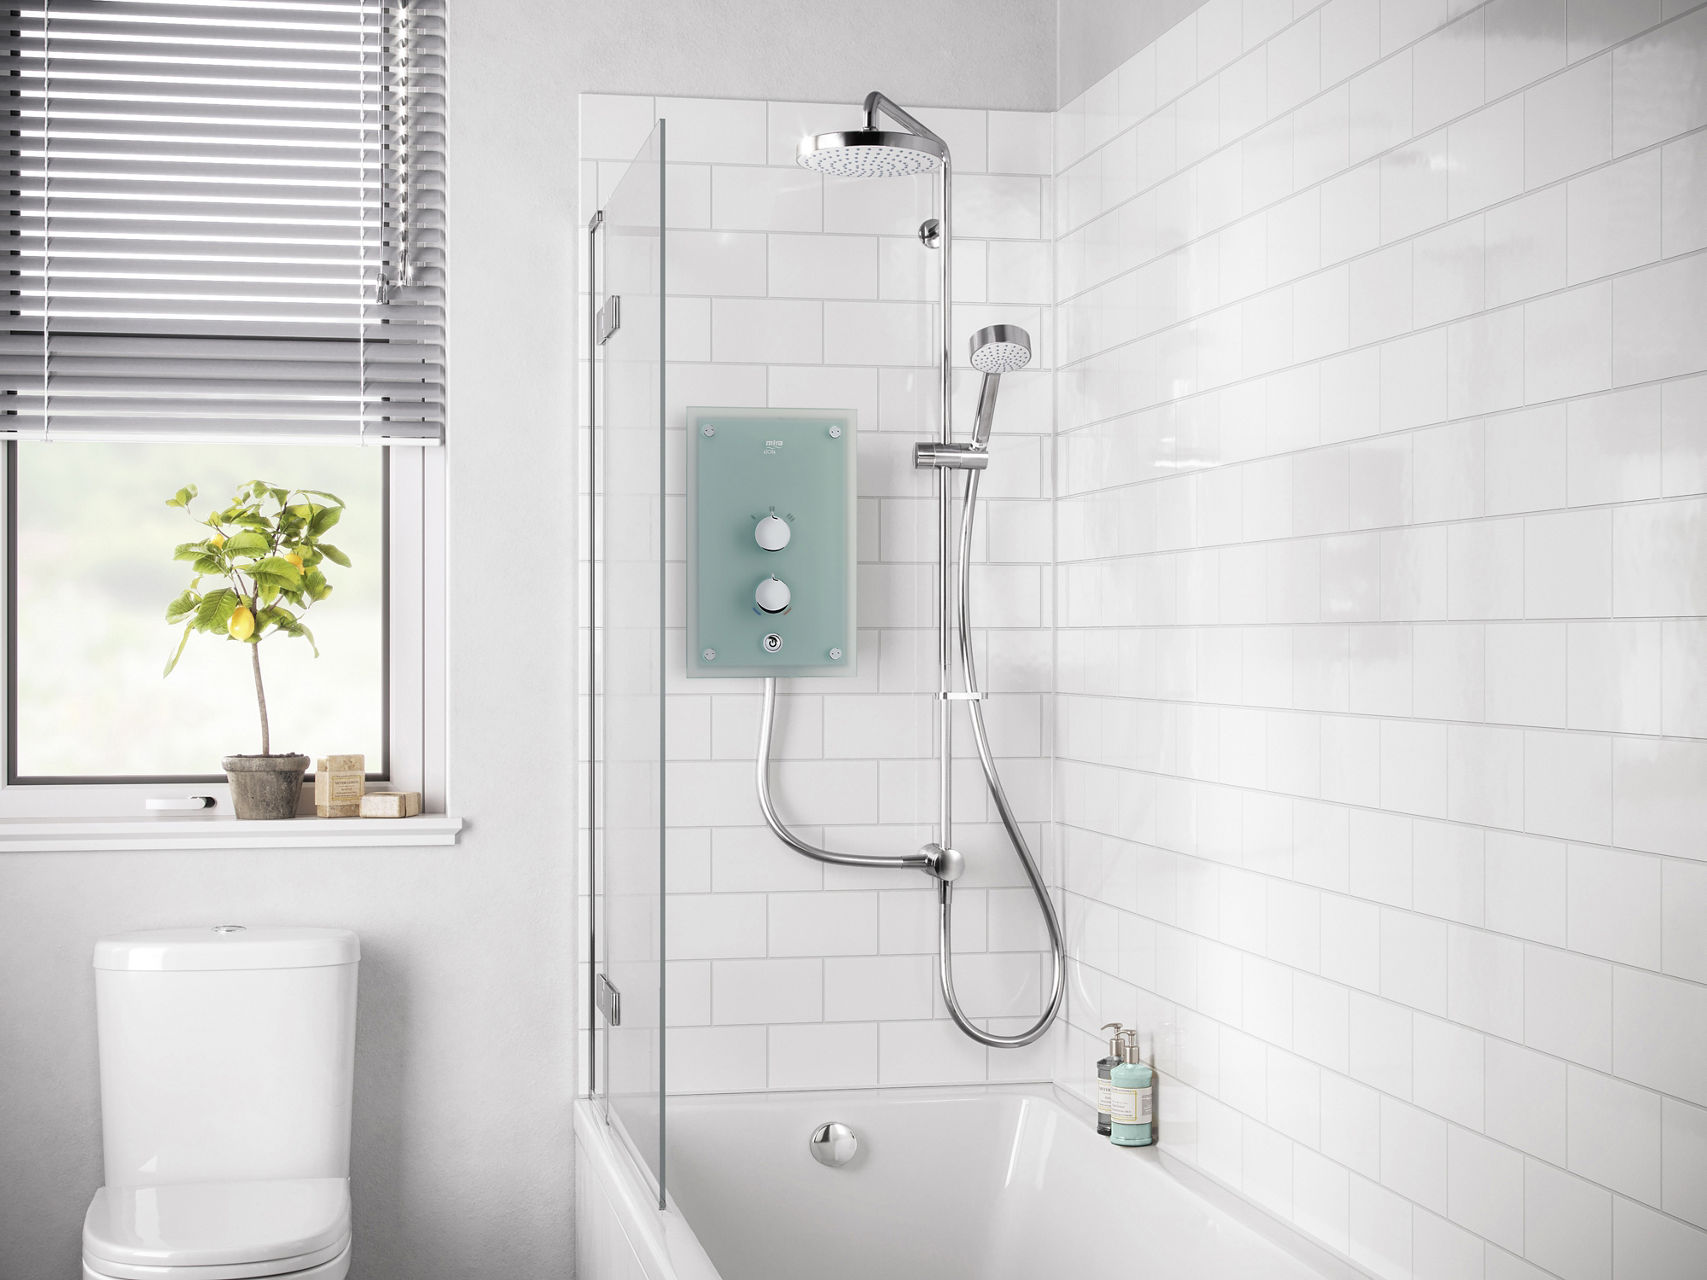
Choose the Right Faucet for Your Space
Your choice of faucet determines not just aesthetics but also the ease of use, compatibility, and performance. Hence, choosing the right one is essential. When selecting faucets, consider the layout of your sink and the number of mounting holes available. For instance, a widespread faucet fits beautifully on larger sinks, while a single-handle faucet offers a sleek and space-efficient look. Tall spouts and pull-down sprayers enhance kitchen functionality, while wall-mounted or compact styles complement minimalist bathrooms. Kohler’s designer faucet taps blend modern innovation with timeless elegance, ensuring every installation exudes premium sophistication.
Step-by-Step Guide: How to Install a Faucet Like a Pro
Installing a faucet may seem straightforward, but achieving a seamless, elegant result requires attention to detail and precision. A well-executed faucet installation not only enhances functionality but also elevates the refinement of your kitchen or bath space.
Preparation Before Installation
A seamless faucet installation begins long before you pick up a wrench. Preparation ensures precision and prevents mid-installation hassles. Start by turning off the water supply and clearing the area beneath the sink. This step might seem basic, but skipping it often leads to unnecessary water spills or delays. Gather all necessary tools; an adjustable wrench, plumber’s tape, and basin wrench are essential. Next, check that all faucet components are included in the box. Missing washers or loose fittings can compromise your installation later. If you’re installing a new faucet, take measurements carefully to ensure the new model fits your existing plumbing.
Assemble Above the Deck
Precision above the sink defines the aesthetic. Alignment and proportion lend a sense of intentional design, elevating the entire space. Place the gasket or apply a thin layer of silicone beneath the faucet base to ensure a watertight foundation. Align the faucet so that the spout sits perfectly centred and parallel to the sink for a visually balanced look. If using a deck plate, position it symmetrically, ensuring both edges align seamlessly with the sink’s contours.
Securing from Below
True sophistication lies in flawless details, even those unseen. A well-secured faucet ensures both stability and enduring performance. Thread the mounting hardware by hand to prevent cross-threading, then tighten evenly with a basin wrench. Avoid over-tightening; balanced pressure prevents sink warping and cracking, maintaining a flawless underdeck finish. Confirm that the faucet is firmly seated and perfectly aligned before connecting the supply lines.
Connecting the Supply Lines
This step brings precision and functionality together, ensuring the faucet performs smoothly for years. Wrap Teflon tape clockwise around the male threads to form a secure, leak-free seal. Connect the hot and cold lines correctly, hot on the left, cold on the right, to maintain intuitive temperature control. Opt for new braided stainless-steel hoses as they enhance safety, durability, and the premium appearance beneath the sink.
Flushing and Final Checks
The finishing touch reveals the finesse of your installation. Proper flushing and inspection preserve performance and polish. Remove the aerator or spray head before turning on the water to prevent debris from clogging the cartridge. Gradually turn on the water and flush for at least 30 seconds to clear the air and residue. Check every connection carefully with a dry cloth to detect hidden leaks or seepage. Seal the faucet base neatly with a minimal silicone bead if required, then polish for a flawless finish.
Mistakes That Compromise Refinement
Even the most premium faucet taps can lose their elegance if installed carelessly. The oversights may seem minor, yet together they separate an ordinary outcome from one of quiet perfection. Below are common mistakes that often undermine a beautiful design.
- Skipping the flush - Failing to flush new supply lines allows debris to enter the aerator or cartridge, disrupting smooth water flow. This simple step prevents early blockages and ensures consistent performance.
- Over-tightening fittings - Applying excessive force while tightening can crack delicate sink surfaces and deform gaskets. Gentle, balanced pressure secures the faucet without compromising materials.
- Ignoring plumber’s tape - Without proper Teflon tape on threaded joints, minor leaks can develop over time. Wrapping the threads correctly creates a perfect seal and lasting watertight connection.
- Reusing old supply lines - Aged hoses often weaken or corrode, increasing the risk of sudden leaks. Replacing them during every faucet installation maintains safety and reliability.
- Crossing hot and cold connections - Mixing up the water lines leads to reversed flow and discomfort during use. Always connect the hot side on the left and the cold side on the right for intuitive operation.
- Misalignment - Even slight angular deviation can disrupt the faucet’s visual symmetry and refined appeal. Align the spout and handles precisely for a truly balanced aesthetic.
- Improper sealant use - Using the wrong sealant type can damage premium finishes or stain natural stone. Choose non-staining silicone over plumber’s putty for a clean, durable result.
- Neglecting the counter thickness - Thicker countertops sometimes require special extension kits for secure fastening. Verifying compatibility beforehand ensures a flawless and stable installation.
Each of these oversights may seem minor, yet together they separate an ordinary outcome from one of quiet perfection.